AWS Cloud9 IDE
AWS Cloud9 is a cloud-based integrated development environment (IDE) that lets you write, run, and debug your code with just a browser. It includes a code editor, debugger, and terminal. Cloud9 comes pre-packaged with essential tools for popular programming languages and the AWS Command Line Interface (CLI) pre-installed so you don’t need to install files or configure your laptop for this workshop.
Your Cloud9 environment will have access to the same AWS resources as the user with which you logged into the AWS Management Console. We strongly recommend using Cloud9 to complete this workshop.
Take a few minutes now and setup your Cloud9 development environment. Cloud9 works best with Chrome or Firefox, not Safari. It cannot be used from a tablet.
Starting AWS Cloud9
Step-by-step instructions
-
Go to the AWS Management Console, Select Services then select Cloud9 under Developer Tools. From the top-right of the Console, select an available region for this workshop. Once you have selected a region for Cloud9, use the same region for the entirety of this workshop.
-
Select Create environment.
-
Enter
theme-park-developmentinto Name and optionally provide a Description. -
Select Next step.
-
You may leave Environment settings at their defaults for launching a new t2.micro EC2 instance based on Amazon Linux which will be paused after 30 minutes of inactivity. Select Next step.
-
Review the environment settings and select Create environment. It will take a few minutes for your Cloud9 environment to be provisioned and prepared.
-
Once ready, your IDE will open to a welcome screen. Below that, you should see a terminal prompt. Close the Welcome tab and drag up the terminal window to give yourself more space to work in.
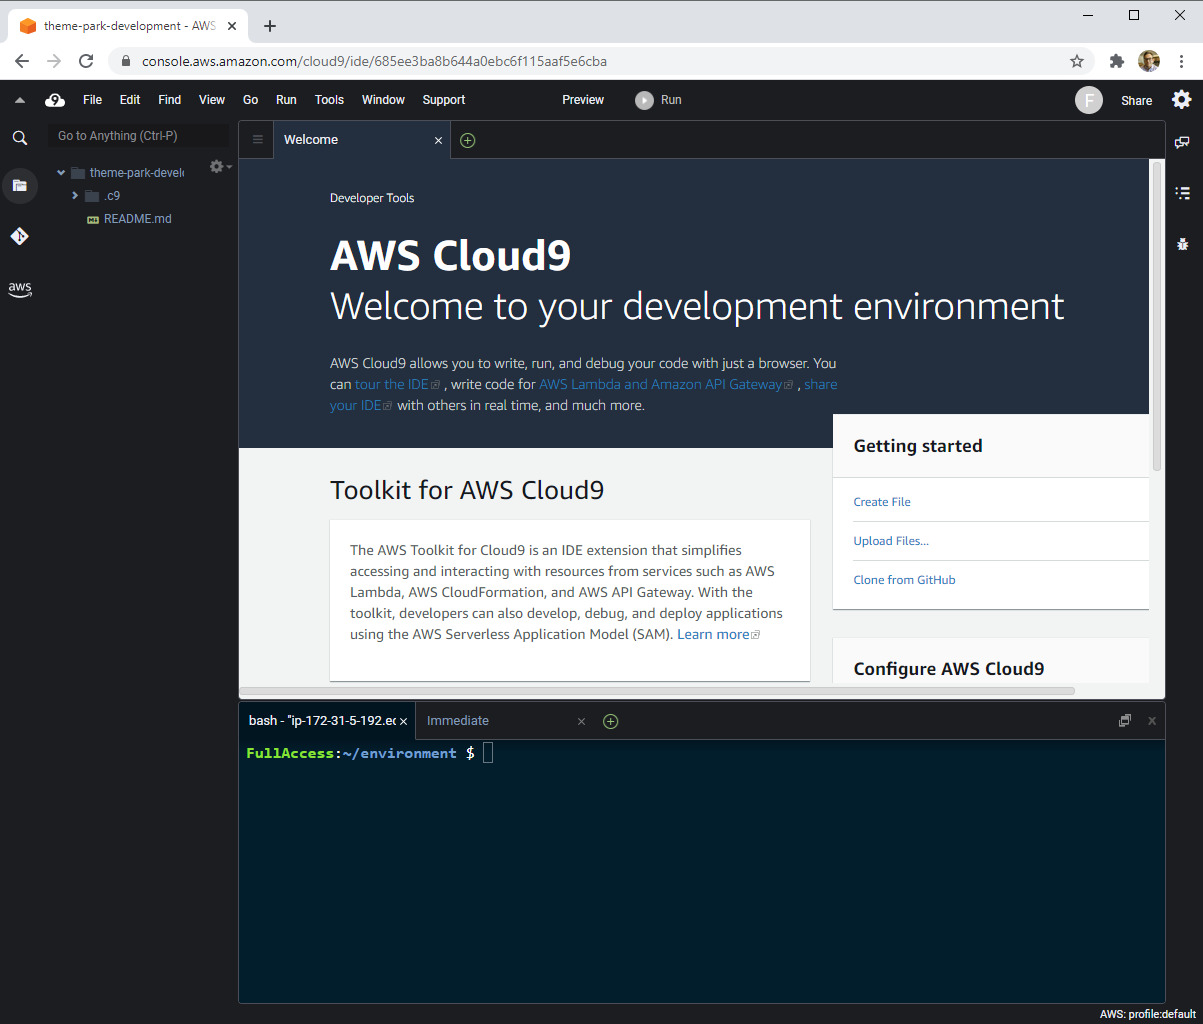
You can run AWS CLI commands in here just like you would on your local computer. Remember for this workshop to run all commands within the Cloud9 terminal window instead of your local computer.
Keep your AWS Cloud9 IDE opened in a browser tab throughout this workshop.
Verify that your user is logged in by running the command aws sts get-caller-identity. Copy and paste the command into the Cloud9 terminal window.
aws sts get-caller-identity
You’ll see output indicating your account and user information:
{
    "Account": "123456789012",
    "UserId": "AKIAI44QH8DHBEXAMPLE",
    "Arn": "arn:aws:iam::123456789012:user/Alice"
}
Check the current AWS Region to make sure you are running the workshop in a supported Region.
Run these commands in the Cloud9 terminal window:
AWS_REGION=$(curl -s http://169.254.169.254/latest/meta-data/placement/availability-zone | sed 's/\(.*\)[a-z]/\1/')
SUPPORTED_REGIONS=("us-west-2" "us-east-1" "us-east-2" "eu-central-1" "eu-west-1" "ap-southeast-2" )
if [[ ! " ${SUPPORTED_REGIONS[@]} " =~ " ${AWS_REGION} " ]]; then
    /bin/echo -e "\e[1;31m'$AWS_REGION' is not a supported AWS Region, delete this Cloud9 instance and restart the workshop in a supported AWS Region.\e[0m"
else
    /bin/echo -e "\e[1;32m'$AWS_REGION' is a supported AWS Region\e[0m"
fi
Make sure the response confirms your Region is supported.

Cloning the GitHub repository
Step-by-step instructions
Clone the repo which will download a local copy of the instructions and code you will use to build the backend portion of the workshop.
- Run these commands in the Cloud9 terminal window:
cd ~/environment/
git clone https://github.com/salander0411/customized-innovation-island-workshop ./theme-park-backend
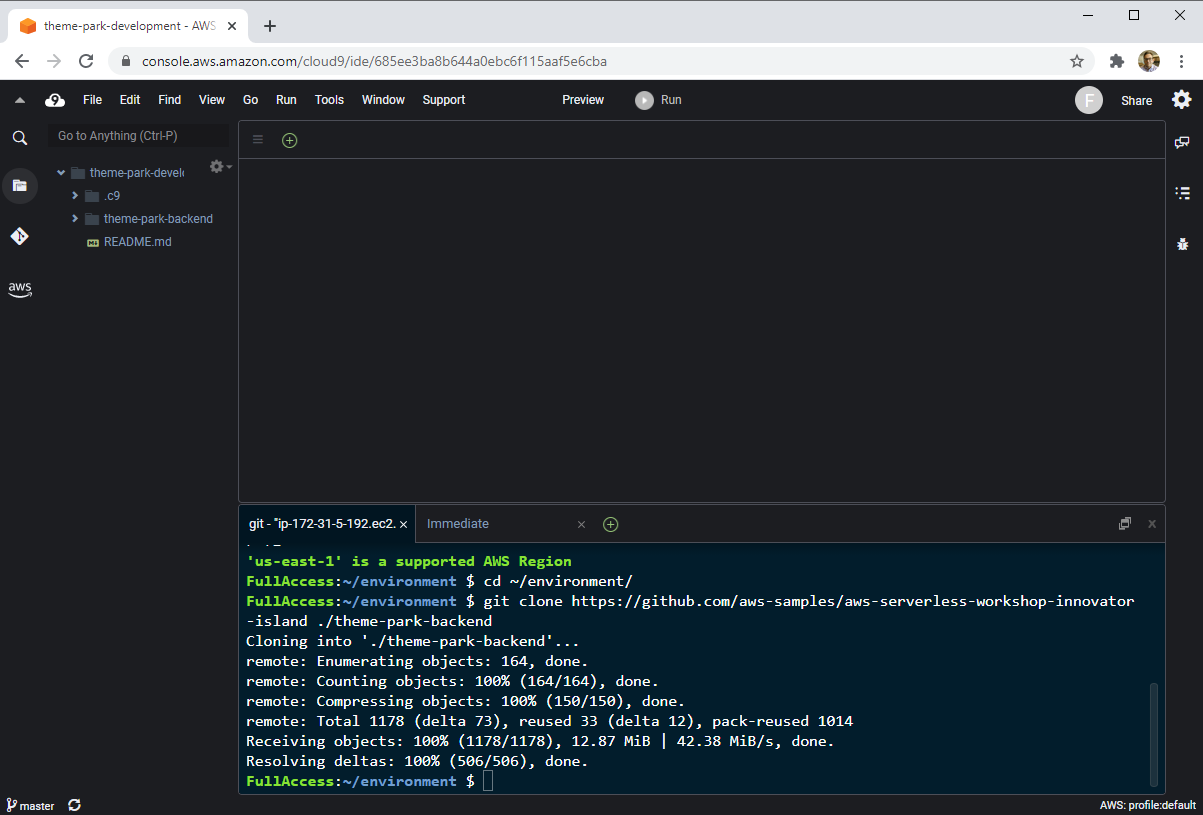
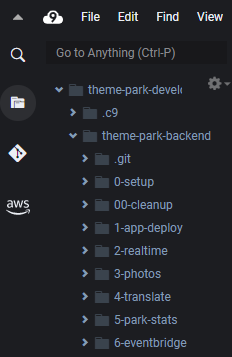
- Within the Cloud9 file browser on the left hand side you can see the backend files have been downloaded.
- Next, install JQ to provide formatting for JSON in the console:
sudo yum install jq -y
Keep an open scratch pad in Cloud9 or a text editor on your local computer for notes. When the step-by-step directions tell you to note something such as an ID or Amazon Resource Name (ARN), copy and paste that into your scratch pad.
Recap
-
Use a unique AWS provided, personal or development AWS account.
-
Use the same region you selected when deploying AWS Cloud9 IDE for the entirety of this workshop.
-
Keep your AWS Cloud9 IDE opened in a tab.
Next steps
In the next module, you’ll start building the initial application.