Creating the chroma key Lambda function
This function implements chroma key processing, also commonly known as green screen. It takes an input image of a person against a green background, removes the green, and then saves the output image.
Inside this section
Lambda functions can be written in different runtimes and can also use pre-packaged libraries of code called Lambda layers.
- This section shows how you can use different runtimes for different tasks. The chroma key processing function uses an open source Python library called OpenCV. This function is deployed using Python 3.7 while the other functions are written in Node.
- The OpenCV library must be compiled using the target operating system, which for Lambda is Amazon Linux 2. To simplify deployment, this was already created as a zip file for you to create a layer.
More information on the services introduced in this section:
Creating the OpenCV Lambda layer
Step-by-step instructions
-
Go back to your browser tab with Cloud9 running. If you need to re-launch Cloud9, from the AWS Management Console, select Services then select Cloud9 under Developer Tools. Make sure your region is correct.
-
In the terminal enter the following command to download the code for the layer:
mkdir ~/environment/lambda-layer
cd ~/environment/lambda-layer
wget https://innovator-island.s3-us-west-2.amazonaws.com/opencv-python-37.zip
- Upload the zipped code package to your S3 deployment bucket:
aws s3 cp opencv-python-37.zip s3://$s3_deploy_bucket
- Create the Lambda layer:
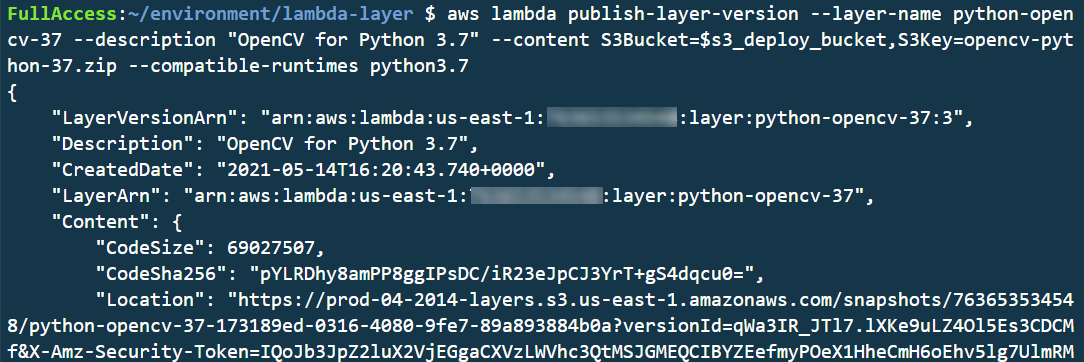
aws lambda publish-layer-version --layer-name python-opencv-37 --description "OpenCV for Python 3.7" --content S3Bucket=$s3_deploy_bucket,S3Key=opencv-python-37.zip --compatible-runtimes python3.7
After a few seconds, the JSON response in the terminal confirms the LayerArn and Version of the new layer.
Creating the Chromakey Lambda function
Step-by-step instructions
-
Go to the Lambda console - from the AWS Management Console, select Services then select Lambda under Compute. Make sure your region is correct.
-
Create a function that:
theme-park-photos-chromakeyas Function name.Python 3.7as Runtime.x86_64as Architecture- choose the existing role that is beginning with theme-park-backend-ThemeParkLambdaRole*.
Ensure you have selected Python 3.7 under Runtime to avoid an error.
-
In the Function overview panel, select + Add Trigger:
- In the Trigger configuration dropdown, select S3.
- In the Bucket dropdown, select the bucket name beginning with
theme-park-backend-uploadbucket. - For Event Type select All object create events from the dropdown.
- Read the Recursive invocation warning, and select the checkbox to confirm that you have read and understood the warning.
- Choose Add.
-
Back on the Lambda function page, select the Code tab. Scroll down to the Layers card. Select Add a layer.

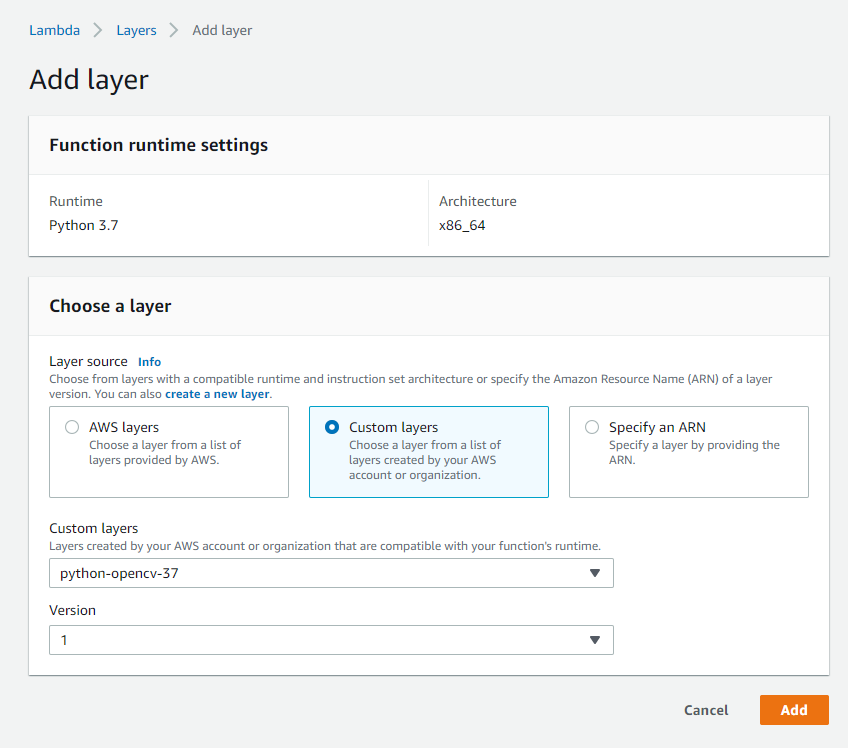
- On the Add layer page:
- Select the Custom layers radio button.
- In the Custom layers dropdown, choose
python-opencv-37. - In the Version dropdown, choose
1. - Select Add.
-
Back on the Lambda function page, select the Code tab to view the Code source card.
-
Copy the code from the file in Cloud9 by navigating to
3-photos/1-chromakey/app.pyonto the clipboard and paste into thelambda_function.pytab in the Lambda function:
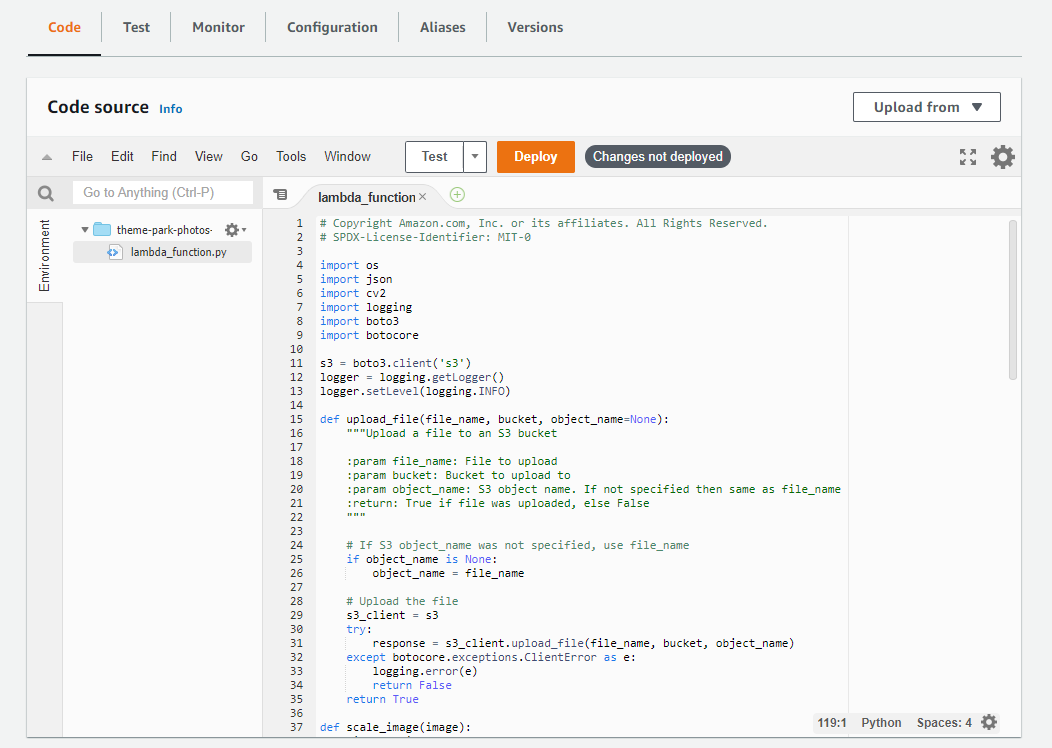
- Select Deploy in the Code source card to save the changes.
Adding environment variables
This function uses three environment variables:
OUTPUT_BUCKET_NAME: the name of the bucket where the output object is stored.HSV_LOWER: A tuple representing lower HSV value for the green screen chroma key matching process.HSV_UPPER: A tuple representing upper HSV value for the green screen chroma key matching process.
In this section, you will retrieve and configure these Environment Variables for the function.
Step-by-step instructions
-
Go back to your browser tab with Cloud9 running. If you need to re-launch Cloud9, from the AWS Management Console, select Services then select Cloud9 under Developer Tools. Make sure your region is correct.
-
In the terminal enter the following command to retrieve the value for
OUTPUT_BUCKET_NAME:
aws s3 ls | grep theme-park-backend-processingbucket
-
Go back to the browser tab with the
theme-park-photos-chromakeyLambda function open. Select the Configuration tab, then choose the Environment variables menu item on the left. Choose Edit. -
Enter the three environment variables with the three values, as follows:
OUTPUT_BUCKET_NAME: the value from step 2 above.HSV_LOWER: [36, 100, 100]HSV_UPPER: [75 ,255, 255]
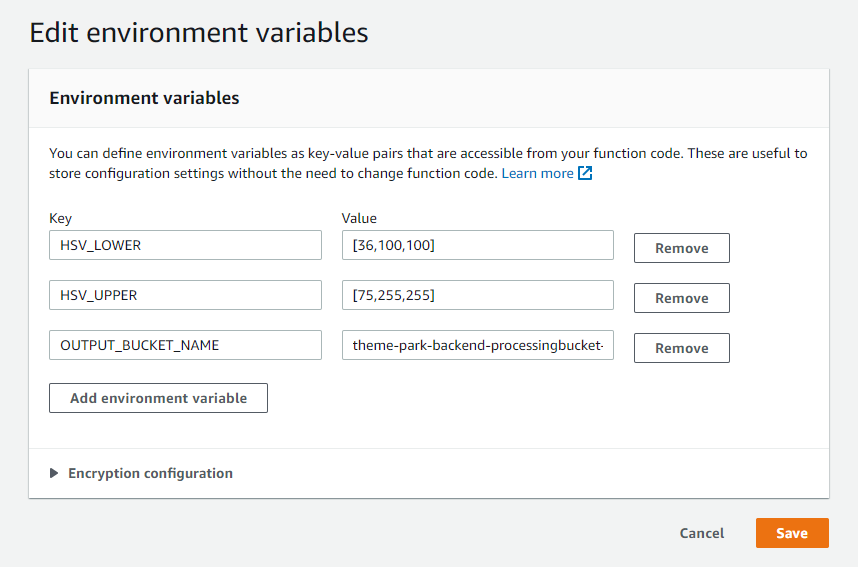
- Choose Save to save these changes.
Change settings for the Lambda function
In this section, you will modify the memory and timeout settings for the Lambda function. This will proportionally also add more CPU and network resources to the Lambda function.
Step-by-step instructions
- In the browser tab with the
theme-park-photos-chromakeyLambda function open, select the Configuration tab. Choose the General configuration option in the menu on the left.
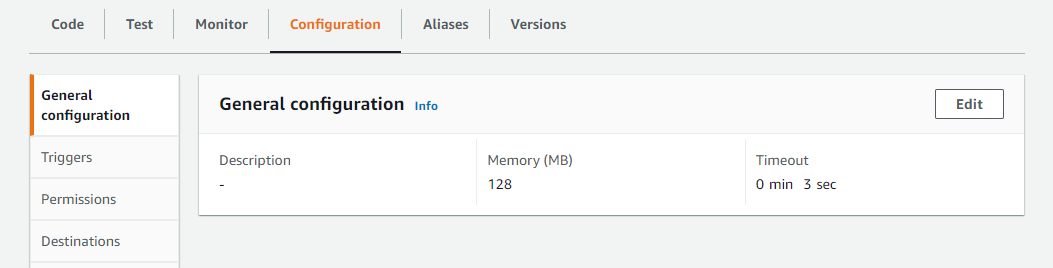
- Choose Edit. Change the Memory (MB) value to 3008 MB. Change the Timeout values to 0 min and 10 sec.
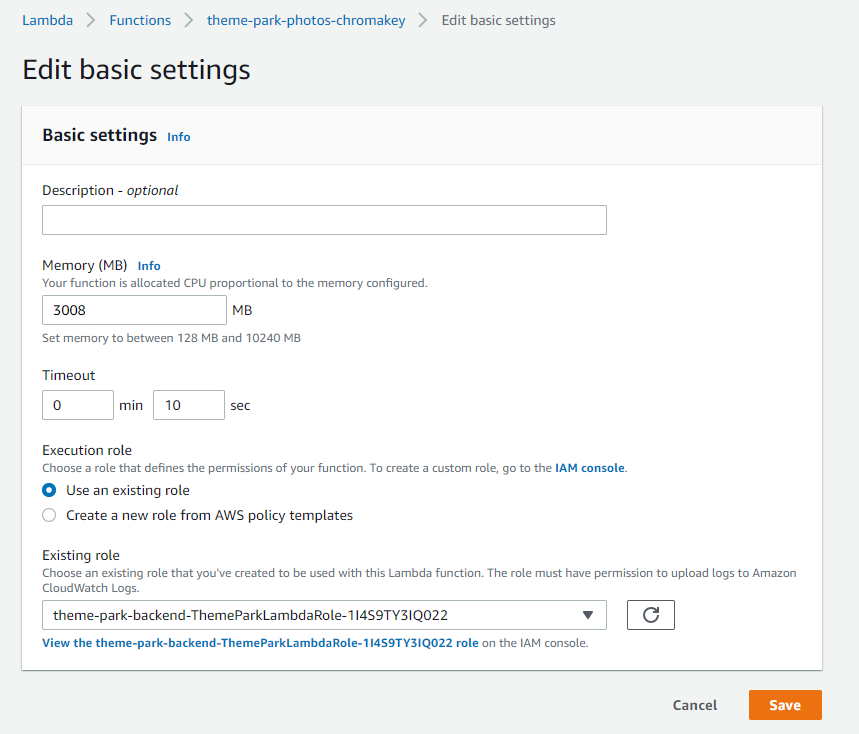
The chroma key process uses memory-intensive libraries to complete the graphics processing. By allocating the maximum memory, this function will complete processing more quickly.
- Select Save to update the function.
Test the function
You will now test the function using a test image containing a photo of a person against a green background. You will manually copy this image into the upload bucket, and see the result in the processing bucket.
Step-by-step instructions
-
Go back to your browser tab with Cloud9 running. If you need to re-launch Cloud9, from the AWS Management Console, select Services then select Cloud9 under Developer Tools. Make sure your region is correct.
-
Navigate to the file
theme-park-backend\3-photos\green-screen-test.pngand open. You can see the photo of a person with a green screen. This is the local testing image. -
In the terminal enter the following command to change the directory:
cd ~/environment/theme-park-backend/3-photos/
- Find the name of your S3 upload bucket with this command:
aws s3 ls | grep uploadbucket
- Copy the local testing image to your upload bucket, replacing the
youruploadbucketbucket parameter with your bucket name from step 3:
aws s3 cp ./green-screen-test.png s3://youruploadbucketname
- In another browser tab, open the AWS Console’s S3 console.
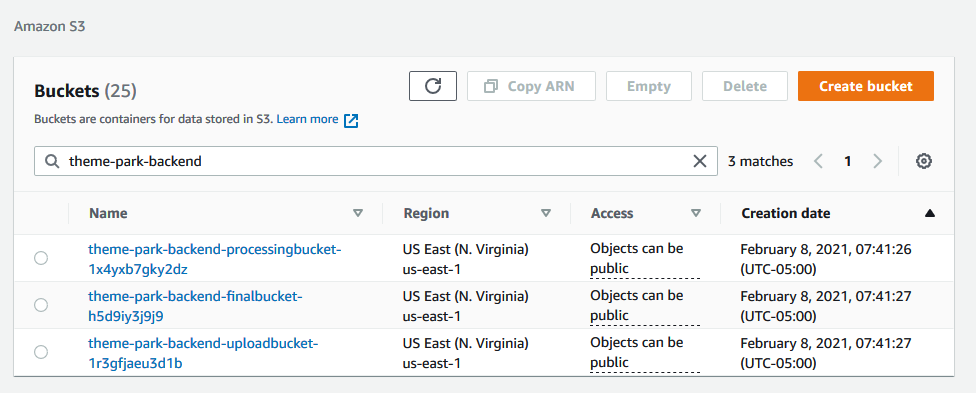
- Select the
theme-park-backend-processingbucket.
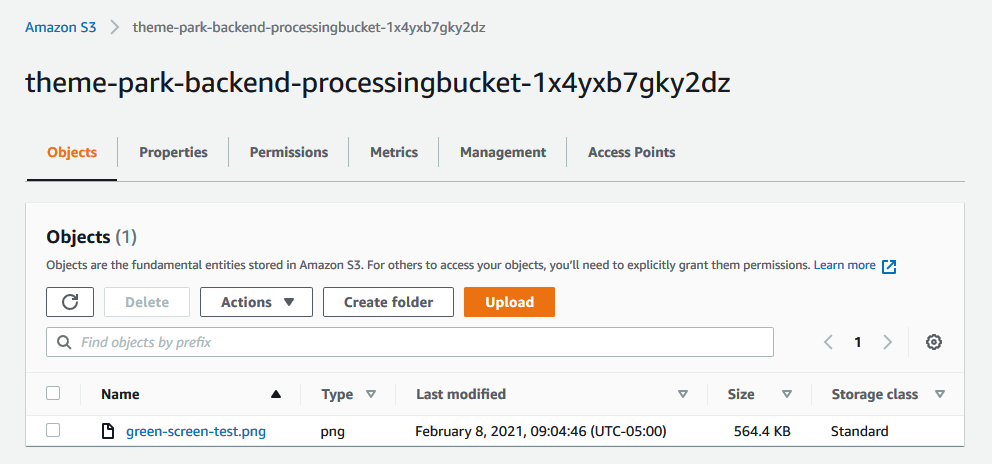
-
Check the
green-screen-test.pngobject, then select the Actions dropdown and choose Download. -
Save the file locally and open in an image viewer.
-
You will see the original green screen image has been modified showing the person with the green background now removed. The Lambda function has been invoked when the photo was uploaded to the S3 bucket. The function ran a chromakey process using a library imported using a Lambda Layer which removed the green screen and then wrote the resulting image to another S3 bucket.
Next steps
Next, you will create the compositing Lambda function.